Why Remote Access to Your Raspberry Pi Matters
Let’s face it—managing a fleet of remote microcomputers can be challenging, especially if you’re constantly on the go. Remote access to your Raspberry Pi isn’t just convenient; it’s essential. Imagine being able to tweak settings, monitor performance, or troubleshoot issues without needing to physically touch the device. Whether you’re running a weather station, managing home automation, or hosting a web server, remote access can save you time, money, and hassle. Plus, ditching the keyboard, mouse, and monitor frees up space and cuts costs. Let’s dive into how you can make it happen.
Getting Started with SSH: The Foundation of Remote Access
SSH, or Secure Shell, is the gold standard for remote terminal access to your Raspberry Pi. It’s like having a direct line to your device, allowing you to issue commands from anywhere in the world. Once you’ve set up remote.it or another service, accessing your Pi over SSH is as easy as typing a command. You’ll be able to log in from any device on any network, giving you full control over your project. No more feeling stranded without access to your incredible Raspberry Pi. With the right setup, you’ll have complete access to your device from anywhere on the planet.
What You’ll Need to Get Started
Before we jump into the nitty-gritty, let’s cover the basics. To remotely access your Raspberry Pi, you’ll need a few key components:
Read also:Cooper Manning The Forgotten Manning Brother Who Found His Own Path
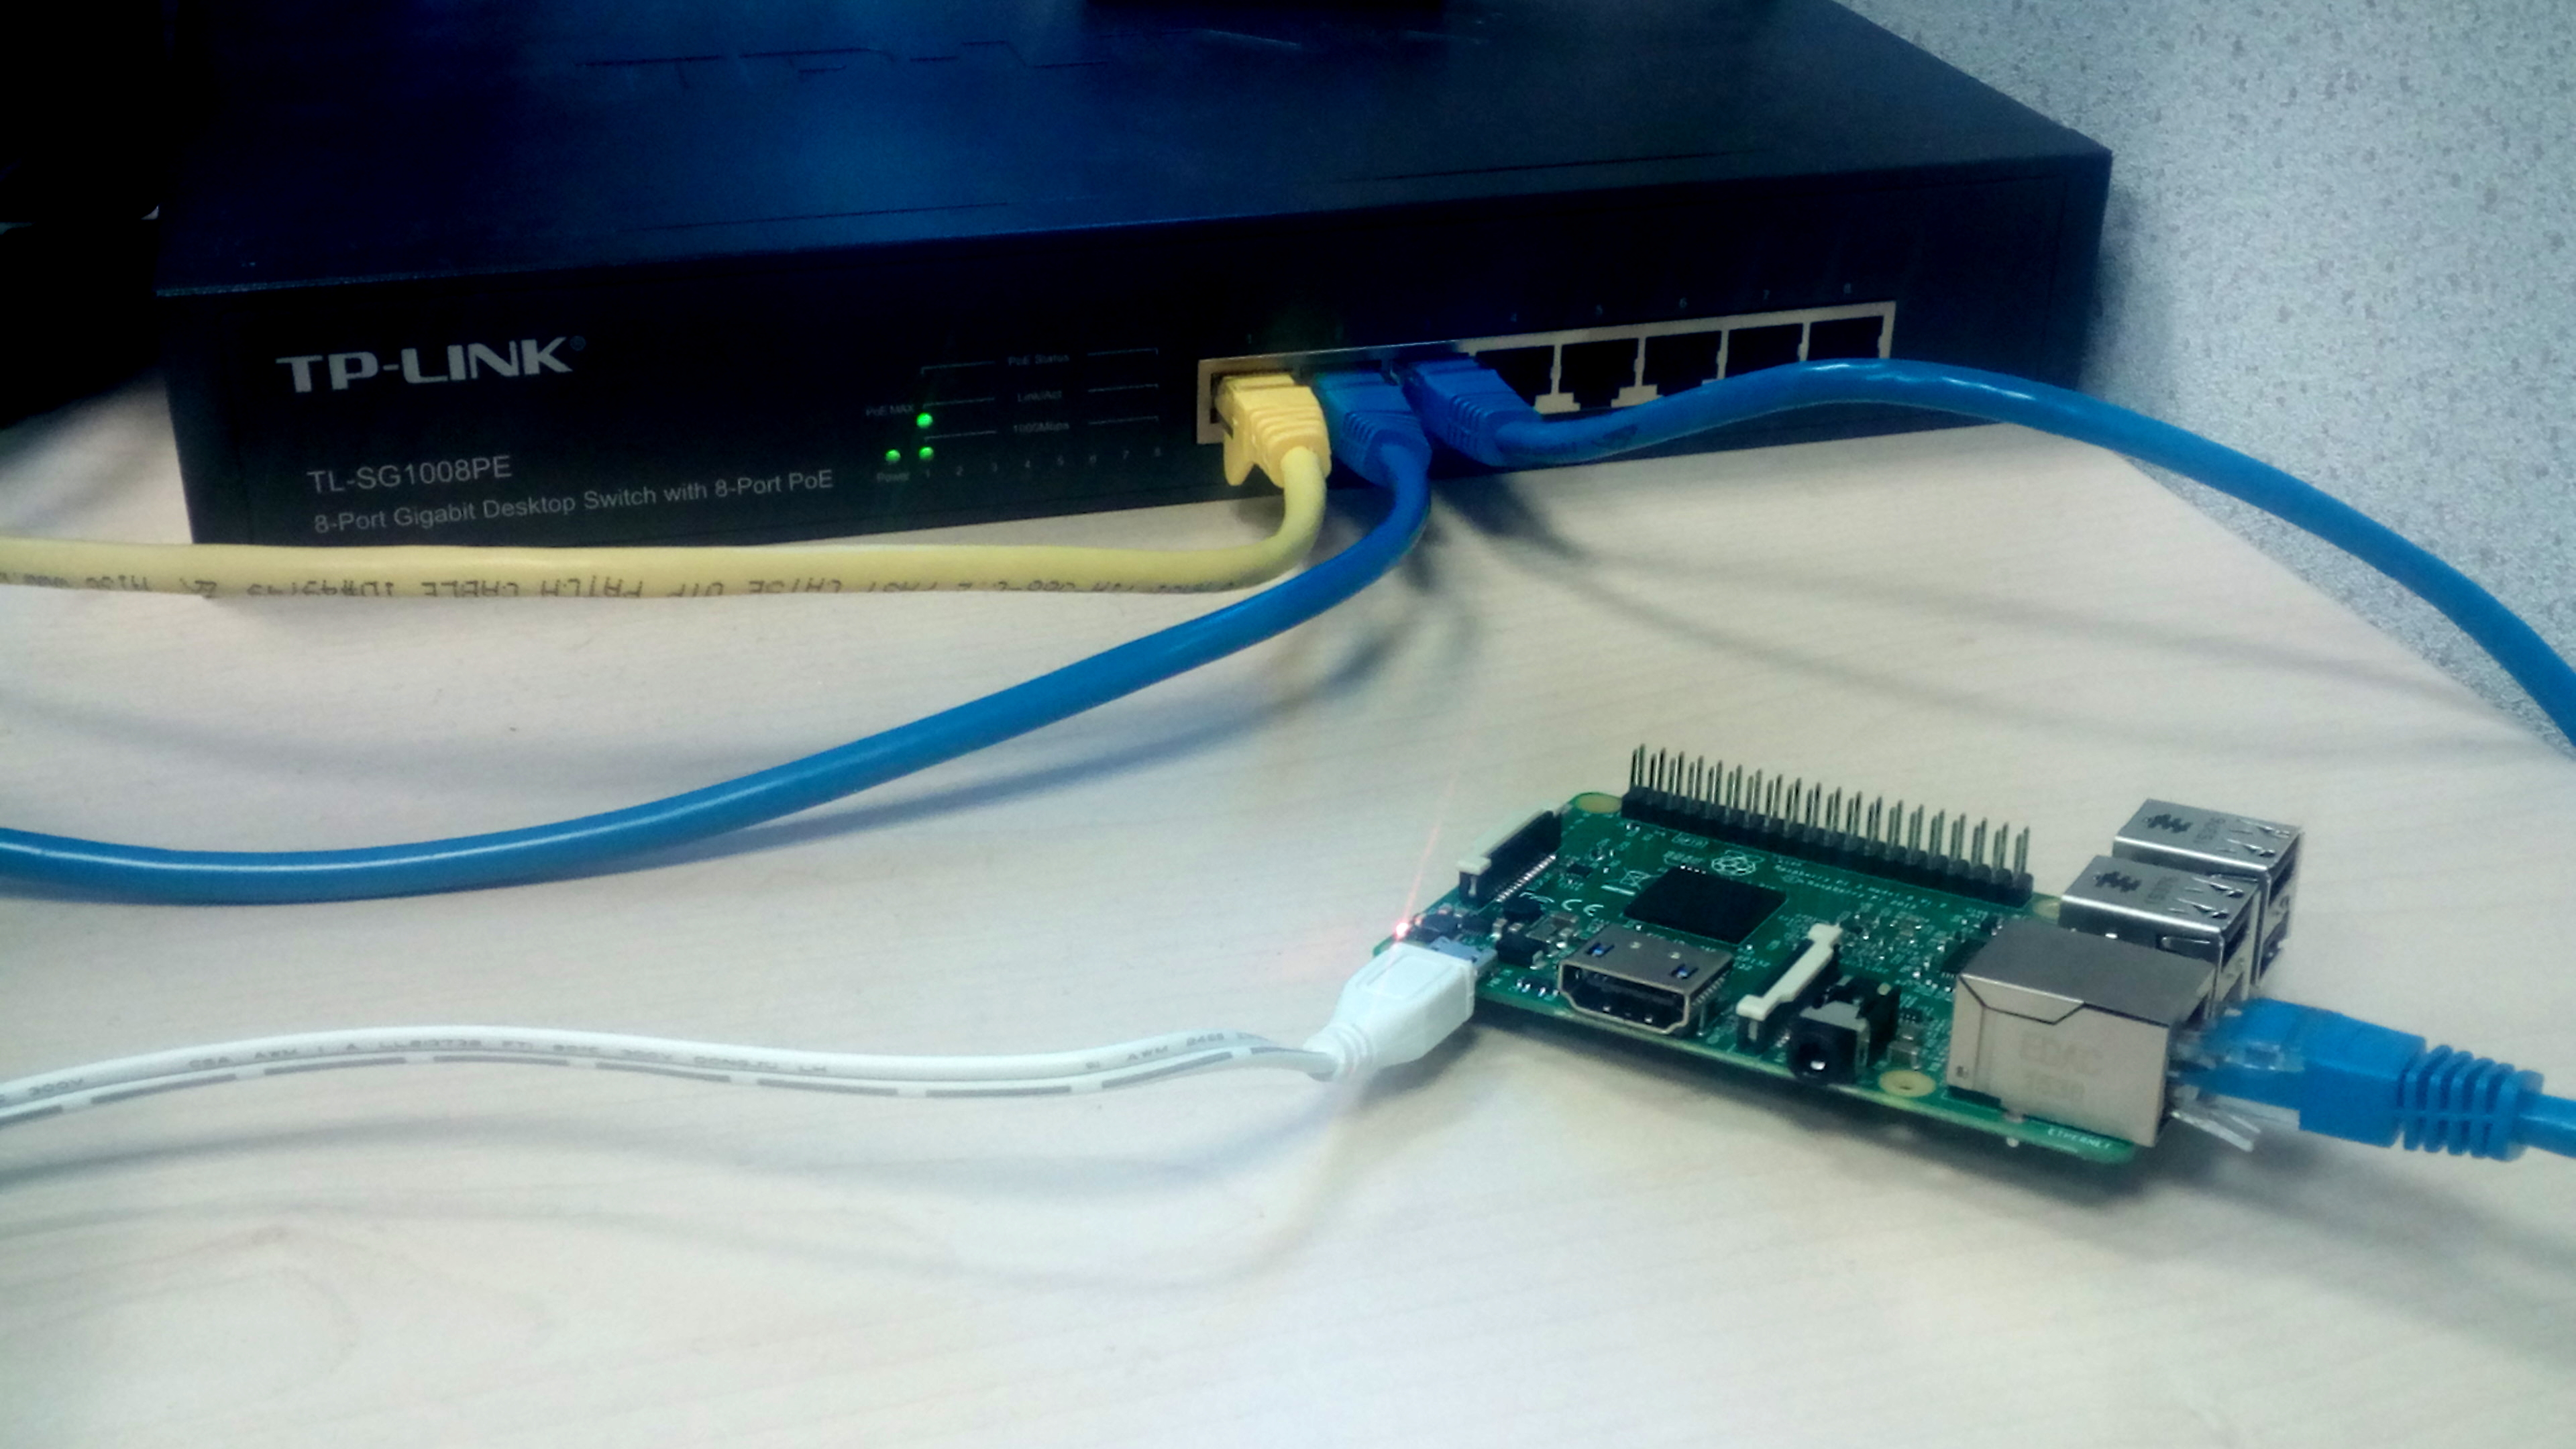
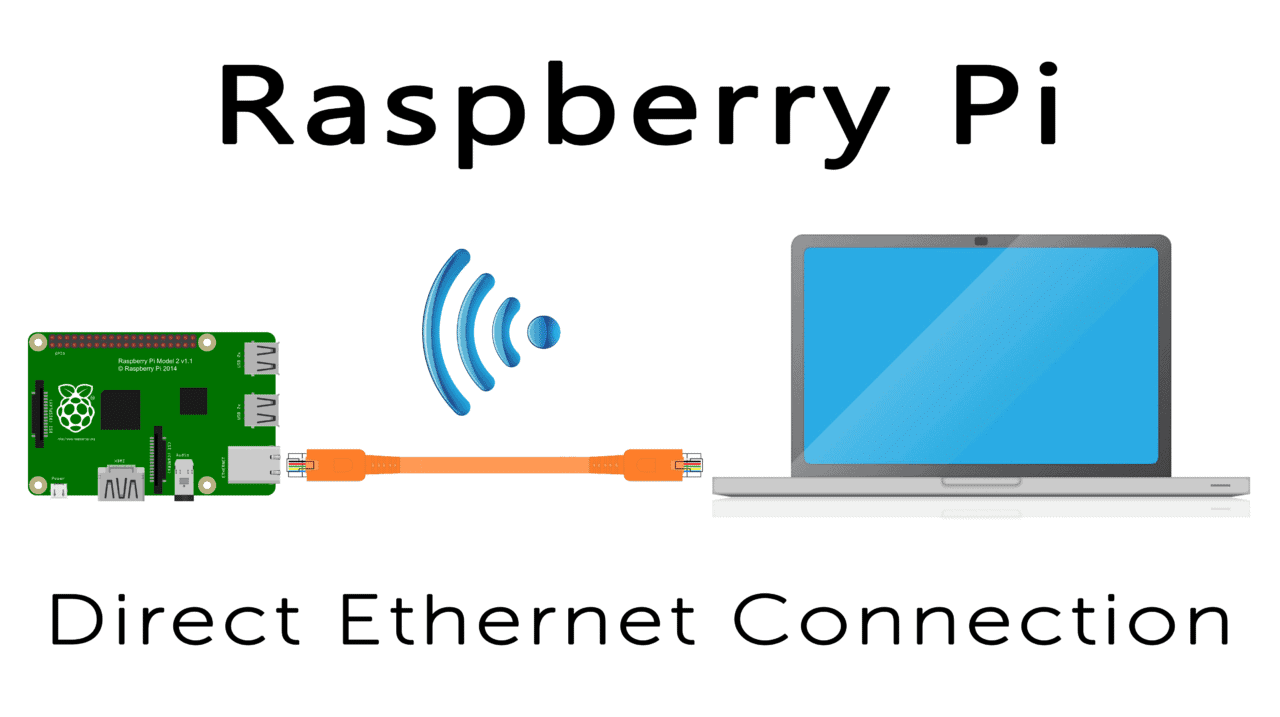
- Raspberry Pi with Internet Access: Ideally, you’ll want to use an Ethernet connection for speed and stability, but Wi-Fi can work in a pinch.
- A Control Device: This can be a PC, tablet, or even a smartphone—anything that can connect to the internet.
- Hardware Requirements: For the best experience, use a Raspberry Pi 3 or newer (Pi 4 is highly recommended). You’ll also need a power supply and an 8GB microSD card with the latest version of Raspberry Pi OS.
Oh, and don’t forget your phone! Any modern Android or iOS device with Wi-Fi connectivity will do the trick.
Exploring Raspberry Pi Connect: The New Kid on the Block
The Raspberry Pi Foundation has just released a game-changing solution to simplify and secure remote access to your Pi. Say hello to Raspberry Pi Connect, a sleek and secure way to access your device from anywhere. Unlike traditional methods, Raspberry Pi Connect runs directly in your web browser, eliminating the need for extra software. It’s like having a virtual desktop in your pocket, no matter where you are.
Setting Up SSH on Your Raspberry Pi
SSH is disabled by default on Raspberry Pi OS for security reasons, but enabling it is a breeze. First, you’ll want to ensure your Pi has a static IP address to make it easier to connect. Next, enable SSH through the Raspberry Pi Configuration tool or by creating an empty file named "ssh" on the boot partition. Once that’s done, you can configure your network settings and connect using an SSH client like PuTTY (for Windows) or Terminal (for macOS and Linux).
SSH Best Practices
Security should always be top of mind when setting up remote access. Here are a few tips to keep your Raspberry Pi safe:
- Change the Default Password: The default "pi" user comes with the password "raspberry." Change it immediately to something strong and unique.
- Regular Updates: Keep your Raspberry Pi OS up to date to patch vulnerabilities and ensure the latest security features.
- Use Strong Authentication: Consider using SSH keys instead of passwords for an added layer of protection.
VNC Connect: Access Your Pi’s Desktop Remotely
If you prefer a graphical interface over the command line, VNC Connect is your go-to solution. VNC has been around for years and remains one of the best ways to access any computer remotely. With VNC Connect, you can log into your Raspberry Pi’s full operating system from any device, whether it’s a Windows PC, Mac, or smartphone. Setting it up is straightforward, but by default, it only allows access from devices on the same local network. To access your Pi from anywhere, you’ll need to configure port forwarding or use a service like RealVNC’s Cloud VNC Viewer.
How VNC Works
VNC works by sending screen updates and keystrokes between your Raspberry Pi and the controlling device. This means you’ll see exactly what’s happening on your Pi’s desktop in real time. While it’s slightly more resource-intensive than SSH, it’s perfect for tasks that require a visual interface, such as graphic design or video editing.
Read also:The Dolphy Family Tree A Legacy Of Laughter And Love
Advanced Options for Remote Access
For those who want even more flexibility, there are several advanced options to consider. Services like TeamViewer, xRDP, or even custom web servers can provide remote access to your Raspberry Pi over the internet. These solutions often require a bit more setup, but they offer powerful features like file sharing, screen sharing, and remote printing.
Opening Your Raspberry Pi to the Internet
Whether you’re using SSH, VNC, or another method, exposing your Raspberry Pi to the internet requires careful consideration. One of the easiest ways to achieve this is by using a service like remote.it, which allows you to securely connect to your Pi without the need for port forwarding. Alternatively, you can set up a virtual private network (VPN) to create a secure tunnel between your device and the Pi.
Step-by-Step Guide to Remote Access
Here’s a quick rundown of how to set up remote access to your Raspberry Pi:
- Enable SSH: Follow the steps above to enable SSH on your Raspberry Pi.
- Set Up Port Forwarding: If you’re accessing your Pi from outside your local network, configure your router to forward SSH traffic to your Pi’s IP address.
- Install an SSH Client: Use a client like PuTTY (Windows) or Terminal (macOS/Linux) to connect to your Pi.
- Test the Connection: Enter your Pi’s IP address and credentials to log in remotely.
Wrapping Up
Remote access to your Raspberry Pi opens up a world of possibilities. Whether you’re managing home automation systems, running a web server, or simply tinkering with code, being able to control your Pi from anywhere is invaluable. With tools like SSH, VNC, and Raspberry Pi Connect, you can tailor your setup to fit your needs. Just remember to prioritize security and regularly update your device to stay protected. Now go out there and take control of your Raspberry Pi—no matter where you are!