Enabling SSH Access on Your Raspberry Pi
Alright, let’s dive right in. If you want to enable SSH access for your Raspberry Pi, it’s pretty straightforward. Head over to the NextcloudPi web interface, where you’ll find a section under networking > SSH. This is where the magic happens. Once you’re there, make sure the active checkbox is ticked. You’ll also need to set a password for the pi account. Don’t skip this part—it’s crucial for security. After you’ve entered the password, click apply. Boom! You’ve just started the SSH service on your Raspberry Pi. Easy, right?
Default Credentials and Getting Started
By default, the username is set to "pi" and the password is "raspberry." But hey, don’t just leave it like that. Changing the password is a must for security reasons. Now, grab your freshly flashed SD card and slide it into your Raspberry Pi 3. Power it up, and let the device boot. Once it’s up and running, give it a minute or two. If everything goes according to plan, your device should show up on your BalenaCloud dashboard. If it doesn’t, don’t panic. There’s a troubleshooting guide you can check out. And if you’re looking for a more detailed tutorial, head over to Pi My Life Up.
Why Raspberry Pi Is Perfect for Cloud Applications
Let’s talk about why the Raspberry Pi is such a game-changer when it comes to cloud applications. Its lightweight design makes it ideal for operating as a thin client. Whether you’re building a home automation system or setting up a personal cloud server, the Raspberry Pi can handle it with ease. In this guide, we’ll walk you through the process of connecting your Raspberry Pi to the cloud using Node.js. Trust me, it’s not as intimidating as it sounds.
Read also:Discover Your Digital Footprint With Whatsmyname
Connecting Your Raspberry Pi to the Cloud
Connecting your Raspberry Pi to the cloud might seem like a tech-heavy task, but it’s actually quite manageable. First, ensure your Raspberry Pi is running the latest version of Ubuntu (20.04 TLS or above) along with Python3 and Pip3. These are essential tools that will help you manage your cloud setup. If you’re new to this, don’t worry. There’s an introductory tutorial available that walks you through setting up your Raspberry Pi 3 and introduces you to some quick Linux terminal programming. It’s a great place to start if you’re feeling a little lost.
Choosing the Right Raspberry Pi Model
Now, here’s something you might want to consider. If you have the option, I highly recommend using a Raspberry Pi 4 instead of a Raspberry Pi 3. Why? Because the Pi 4 comes equipped with USB 3.0 ports, which are significantly faster than the USB 2.0 ports on the Pi 3. This speed difference can make a huge impact when you’re reading and writing data. That said, if you’ve already got a Pi 3, don’t sweat it. It’ll still get the job done, just not as quickly.
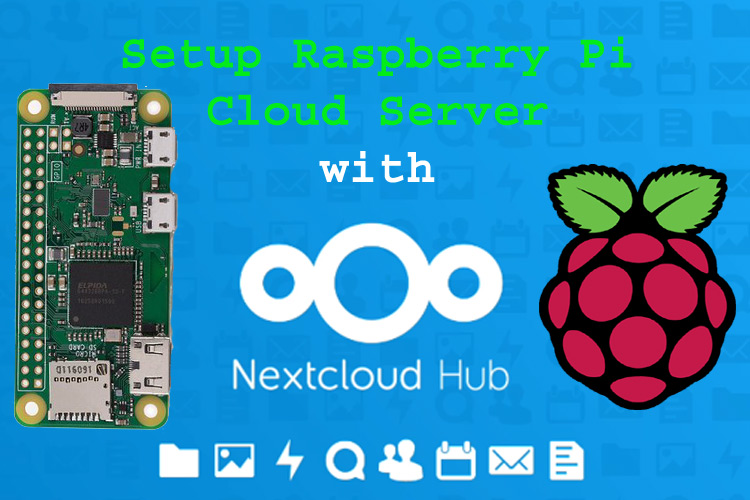
Setting Up Nextcloud on Your Raspberry Pi
Nextcloud is an excellent tool for creating your own personal cloud server. Installing it on your Raspberry Pi is simpler than you might think. First, download the zip file from their website. Once it’s downloaded, extract it and get ready to configure. This part might involve a few extra steps, but don’t worry—we’ll guide you through it. By the way, if you’re using the Jessie Lite OS, that’s totally fine. This approach works well for setting up your Pi as both an access point and a web server.
What You’ll Need
Before we get started, make sure you have all the necessary accessories. You’ll need a kit that includes a breadboard, LEDs, resistors, jumper wires, a Raspberry Pi extension board, and a forty-pin cable extension. These components will come in handy when you configure your Raspberry Pi to interact with the cloud. For this tutorial, we tested everything on a Raspberry Pi 400 running the latest release of Raspberry Pi OS Buster. If you’re using a different model, just ensure it meets the minimum requirements.
Preparing Your Raspberry Pi for Rclone
Now, let’s talk about preparing your Raspberry Pi for Rclone. Rclone is a powerful tool for managing cloud storage, and setting it up is a breeze. First, make sure your Raspberry Pi is all set up and ready to go. Once that’s done, you can install Rclone with ease. Trust me, it’s worth the effort. With Rclone, you’ll be able to sync your files across multiple cloud services seamlessly.
Can a Raspberry Pi Be Used as a Cloud Server?
Yes, absolutely. A Raspberry Pi is more than capable of running Nextcloud and functioning as a cloud server. If you’re wondering whether you can use your Raspberry Pi for this purpose, the answer is a resounding yes. In fact, many people are building Raspberry Pi clusters—networked groups of Raspberry Pi computers working together as a single unit. It’s like having your own mini data center right on your desk.
Read also:Why Isnt Sade Baderinwa On The News Anymore Lets Dive In
Why Cloud Storage Matters
Cloud storage is incredibly useful, and with OwnCloud, you don’t have to trust big companies with your data. You can enjoy the convenience of cloud storage while keeping your files secure. OwnCloud is one of the best programs for running a cloud storage system on your Raspberry Pi. With the help of DietPi, setting it up is a breeze. Once you’ve got everything up and running, you can access your files from anywhere. All you need to do is create an account on XKI.Cloud, download the remote client onto your Raspberry Pi, authenticate the device with your credentials, and start sending data to the cloud.
Building a Raspberry Pi Cluster
In this tutorial, we’ll show you how to build your own small, fully managed bare-metal Raspberry Pi cluster. By the time you’re done, you’ll be ready to install MicroK8s and set up a fully functioning Kubernetes cluster. This is where things start to get really exciting. Imagine learning Kubernetes, scaling apps, and mastering CI/CD workflows—all on a cluster of Raspberry Pi’s sitting right on your desk. It’s like having your own personal playground for cloud computing.
Wrapping It Up
In this Raspberry Pi cloud management tutorial, we’ve covered everything you need to know to set up and manage your own cloud using a Raspberry Pi. From installing the operating system to optimizing performance and addressing common challenges, you now have the knowledge to create a secure and efficient cloud environment tailored to your needs. Whether you’re setting up your Raspberry Pi as a cloud server or deploying advanced cloud services, this guide has got you covered. So go ahead, dive in, and start building your cloud empire. Happy tinkering!