Getting Started: Understanding Your Raspberry Pi's IP Address and Hostname
Hey there! If you’re diving into the world of Raspberry Pi, one of the first things you need to know is how to identify your Pi on your network. You’ll need either its IP address or hostname to get started. Think of these as your Pi's address on your local network. Once you’ve got this info, you’re ready to move forward.
Why Knowing Your Pi's Address Matters
When it comes to managing your Raspberry Pi remotely, having the right address is key. Whether you're troubleshooting, running scripts, or even setting up a Minecraft server, knowing your Pi’s IP address or hostname will help you connect without a hitch. This will make your life much easier as you explore the endless possibilities of your Raspberry Pi.
Connecting to Your Raspberry Pi via SSH
SSH, or Secure Shell, is a powerful way to access your Raspberry Pi remotely. It’s like a secure tunnel that lets you control your Pi from anywhere on your network—or even the world! To connect, you’ll need to enter some details: the hostname (or IP address), your username (usually "pi"), and your password. Don’t worry; we’ll walk you through each step.
Read also:Jesse Sullivan The Inspiring Journey Of A Transgender Dad And Tiktok Star
Step 1: Enter Your Credentials
Let’s say your Pi’s hostname is "raspberrypi" and your username is "pi." You’ll type those into the appropriate fields, along with your password. Once you’ve filled everything in, click "Connect." Voilà! You’re now accessing your Raspberry Pi remotely. It’s that simple.
Step 2: Copying Files Between Devices
Sometimes, you’ll want to transfer files between your personal computer and your Raspberry Pi. For example, let’s say you have a file called "myfile.txt" that you want to move to your Pi. You’d run a command like this:
scp myfile.txt pi@raspberrypi:/home/pi/
Just replace "pi" with the username you use to log in to your Pi, and "raspberrypi" with your Pi’s actual IP address. This command copies the file directly into your Pi’s home folder.
Taking It a Step Further: Remote Access from Anywhere
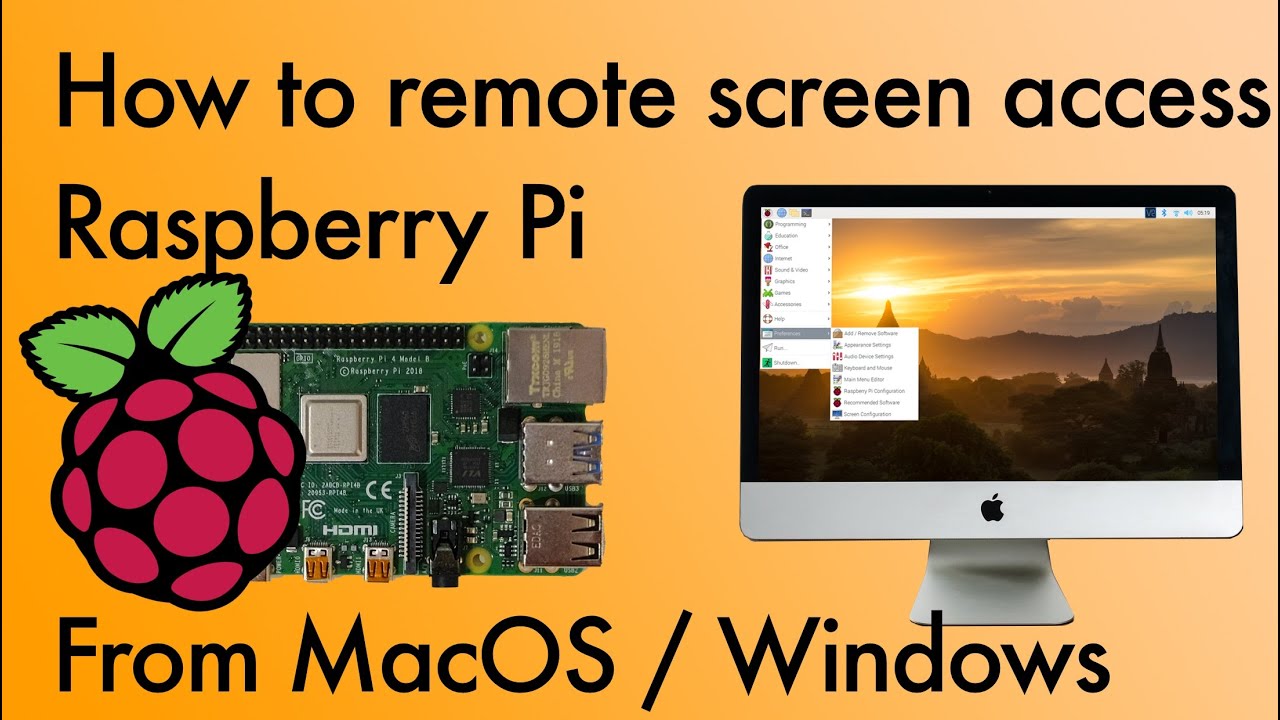
Wouldn’t it be great if you could access your Raspberry Pi from anywhere in the world? Well, you can! There are several ways to achieve this, and one of the most secure methods is by using a service like RealVNC’s Cloud VNC Viewer. This allows you to connect to your Pi’s desktop and command line directly from any browser. No need to worry about complex setups or port forwarding.
Option 1: Expose SSH or VNC Over the Open Internet
If you’re comfortable with networking, you can expose SSH or VNC on your Pi to the open internet. Just be sure to take security precautions, such as using strong passwords and enabling firewalls. Another option is to set up a VPN, which adds an extra layer of protection.
Read also:Did Sara Haines Really Vote For Trump Heres What We Know
Option 2: Use Raspberry Pi Connect
Raspberry Pi Connect is a free service that makes remote access a breeze. It allows you to share your Pi’s screen and control it remotely from any device. Whether you’re using a Windows PC, Mac, or even a smartphone, this service ensures you can manage your Pi from anywhere.
Setting Up SSH on Windows 10
If you’re using Windows 10, enabling the SSH client is a straightforward process. Here’s how you do it:
- Search for "Windows Features" in your Start menu.
- Scroll down and check the box next to "OpenSSH Client."
- Click "OK" and let Windows install the feature.
Once it’s done, you’ll be ready to connect to your Raspberry Pi via SSH.
Connecting via Remote Desktop
For a more visual experience, you can use the Remote Desktop Connection app on Windows. Here’s how:
- Search for "Remote Desktop Connection" and open the app.
- Type your Raspberry Pi’s IP address in the "Computer" field and click "Connect."
- When prompted, click "Yes" to establish the connection.
- Enter your Raspberry Pi’s username and password to log in.
And just like that, you’re now controlling your Pi’s desktop from your Windows machine!
Advanced Setup: Using Remote.IT for Seamless Access
For those who want a hassle-free way to access their Raspberry Pi remotely, Remote.IT is an excellent choice. This service lets you connect to your Pi without dealing with port forwarding or complex configurations. It’s perfect for setting up a work network or running a server from your Pi.
How Remote.IT Works
Remote.IT creates a secure connection between your device and your Raspberry Pi. Whether you’re using a Windows PC, Mac, or even a smartphone, you can access your Pi’s command line or desktop with ease. No need to worry about firewalls or network settings—Remote.IT handles all that for you.
Tips for Securing Your Remote Connections
While remote access is incredibly convenient, it’s important to prioritize security. Here are a few tips to keep your Raspberry Pi safe:
- Use strong, unique passwords for your Pi.
- Enable two-factor authentication if possible.
- Keep your Pi’s software up to date with the latest security patches.
- Consider using a firewall to block unauthorized access.
By following these best practices, you can enjoy the benefits of remote access without compromising your system’s security.
Final Thoughts
Remote access to your Raspberry Pi opens up a world of possibilities. Whether you’re running a web server, hosting a Minecraft server, or simply managing your projects from afar, the tools and methods we’ve discussed here will help you get the job done. So go ahead, give it a try, and see how much more you can achieve with your Raspberry Pi!